In the following tutorial, we will explain how to integrate the Fullpage.js library into Divi.

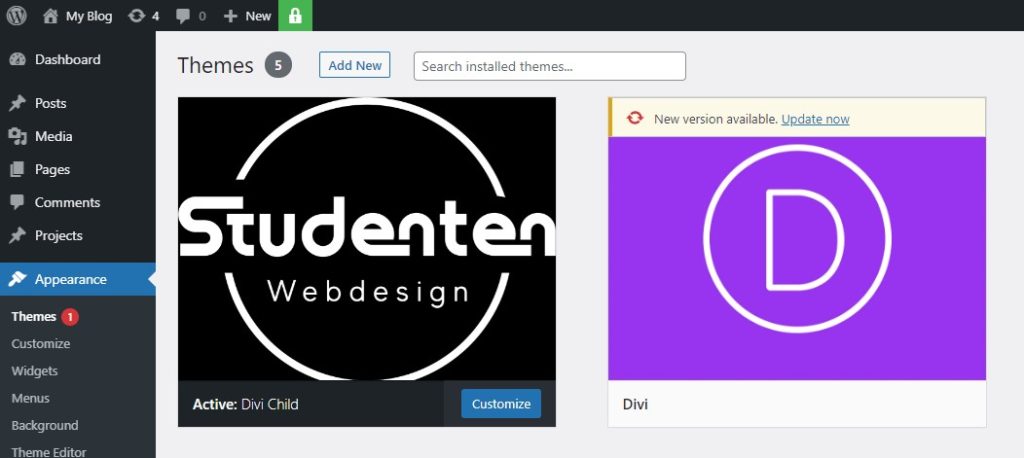
Creating your Divi Child Theme
The first thing we have to do is to create a Divi child theme. You can find detailed instructions on that in our blogpost here.
Plugging in your fullPage.js into your Child Theme
Once you’ve created your Divi Child Theme, what’s left to do is to integrate the fullpage.js.
Here’s what you have to do:
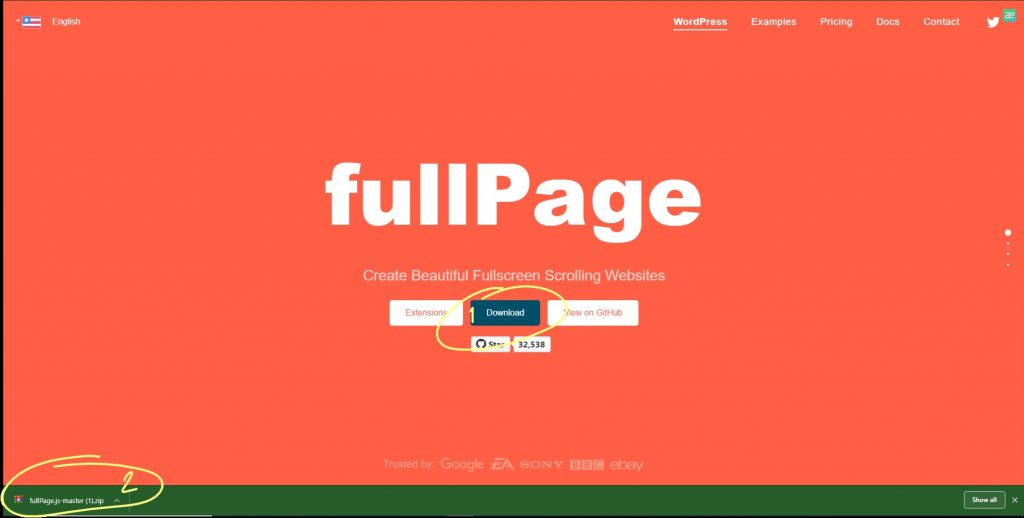
- Go to fullPage.js and download the library.
- Click Download and unzip the downloaded file.
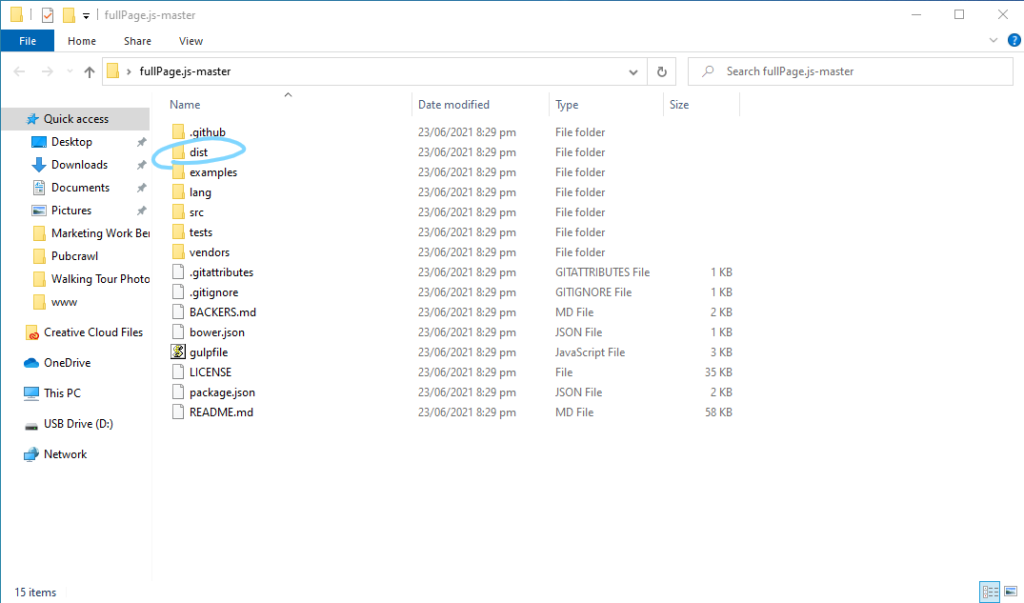
3. Look for the folder named “dist” in the extracted folder.
4. Go back to your Divi Child Theme and create a subdirectory called „fullpage“.
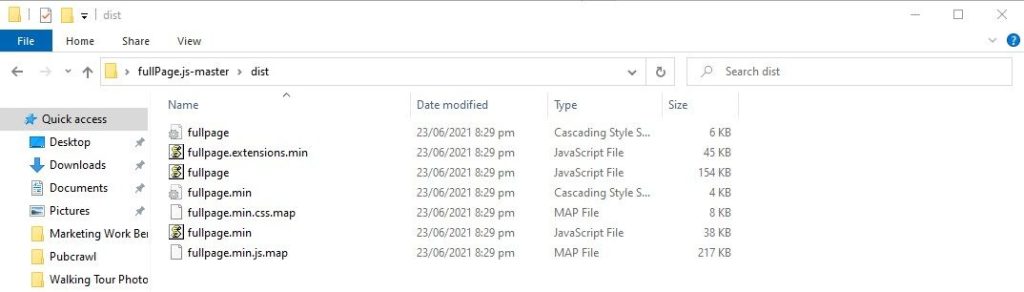
5. Inside the „fullpage“ subdirectory, you have to paste all the files from the dist folder from step 3.
Congratulations! You’ve just installed fullpage.js library into your Divi child theme. Let’s move on to the next step.
Custom Page Template Creation
After you install the fullpage.js, we need to create a custom page template by using the standard Divi page template and create a new one from there. This is because we have to inherit the parent theme template to make the full-page scroll work. Do the following steps to create one.
- Copy (page.php), Divi’s standard page template into your Divi child theme.
- Rename page.php inside the Divi child theme as ‘page_template-fullpage.php‘
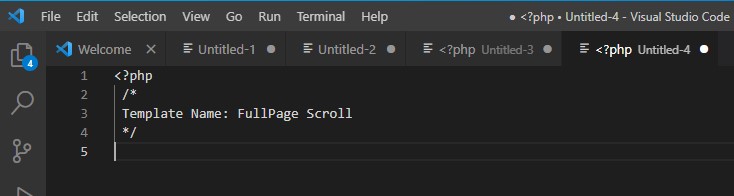
Now, It’s time to edit it to a full-page. - Insert the tag below after the PHP opening tag (<?php).
  /*
 Template Name: FullPage Scroll
 */
4. It will look like this
5. Look for the line containing:
„<div class=“entry-content“>“Then insert the line below after it.
„<div id=“fullpage“ class=“fullpage“>“It should look like this:

6. Find the closing tag of entry-content, such as below:
</div><!– .entry-content –>And insert the line below
</div><!– .fullpage –>By doing the steps above, we now have embedded a “full-page“ section inside “entry-content“ section.
JavaScript Configuration Files
Now, it’s time to make the “full-page” configuration. Don’t worry, just follow the steps below.
1. Go to your Divi child theme and, under the “full-page” folder, create a new JavaScript file with the name “fullpage-config.js”.
2. Copy and paste the code below into your fullpage-config.js.
 (function($){
 $(document).ready(function() {
 if ($("body").hasClass("page-template-page_template-fullpage")) {
 $('#fullpage').fullpage({
 navigation: true,
 navigationPosition: 'right'
 });
 }
 });
})(jQuery);
3. It’s time to enqueue fullPage.js JavaScript and CSS File. Copy and paste the below code in functions.php inside Divi child theme.
function enqueue_fullpage_files() {
 wp_enqueue_style( 'fullpage-css', get_stylesheet_directory_uri() . '/fullpage/jquery.fullpage.min.css' );
 wp_enqueue_script( 'fullpage', get_stylesheet_directory_uri() . '/fullpage/jquery.fullpage.min.js', array( 'jquery' ), '1.0.0', true );
 wp_enqueue_script( 'fullpage-config', get_stylesheet_directory_uri() . '/fullpage/fullpage-config.js', array( 'jquery' ), '1.0.0', true );
}
add_action( 'wp_enqueue_scripts', 'enqueue_fullpage_files' );
4. After enqueueing, we can also add some CSS styles. Below is some example CSS, that you can adjust.
/*
Theme Name: Divi Child
Theme URI:
Description: Studenten Webdesign
Author: Pascal Cabart
Author URI: https://studentenwebdesign.ch
Template: Divi
Version: 1.0.0
*/
/* FullPage */


/* FullPage */
.page-template-page_template-fullpage.et_fixed_nav.et_show_nav #page-container {
position: relative;
}

.page-template-page_template-fullpage #et-main-area {
padding-top: 0;
}

.page-template-page_template-fullpage #fullpage {
position: absolute !important;
top: 0;
bottom: 0;
left: 0;
right: 0;
}

.page-template-page_template-fullpage .et_pb_section.section {
height: 100vh;
padding-top: 0 !important;
}

/* Adjust Section Sizes for Header and Footer */

.page-template-page_template-fullpage .fp-tableCell {
padding-top: 136px;
padding-bottom: 55px;
display: -webkit-box;
display: -ms-flexbox;
display: flex;
-webkit-box-orient: vertical;
-webkit-box-direction: normal;
-ms-flex-flow: column nowrap;
flex-flow: column nowrap;
-webkit-box-pack: center;
-ms-flex-pack: center;
justify-content: center;
}

@media all and (max-width: 981px) {

.page-template-page_template-fullpage .fp-tableCell {
padding-top: 80px;
padding-bottom: 70px;
}

.page-template-page_template-fullpage .et_pb_section {
padding-top: 0 !important;
}

/* Footer Adjustments */

.page-template-page_template-fullpage #main-footer {
position: fixed;
width: 100%;
bottom: 0;
}

@media all and (max-width: 980px) {

.page-template-page_template-fullpage #footer-info,
.page-template-page_template-fullpage
.et-social-icons {
display: none;
}
 #footer-bottom {
 padding: 10px 0;
}
}
/* Fix for Chrome-specific misalignment problem */
.page-template-page_template-fullpage article {
 height: -webkit-fill-available;
}
Full Scroll Page Template
You now have a Divi Child Theme, installed fullpage.js, a custom page template, and a JavaScript of your full-page configuration. Now it’s time to put it to a test, and see if we’ve all put them together properly. Let’s do the final step!
- Start by creating a new page. Go to your dashboard and go to the “pages” tab, then click add new.
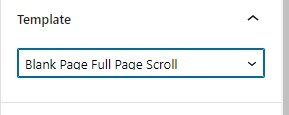
- Make sure to choose the “Full-page Scroll“ as the template in the settings. In my case, I changed it to Blank Page Full-Page Scroll, since I had other customizations in it, which is for another blogpost. So, in your case, make sure to pick the “Full-page Scroll“ option under the tab template in the default editor.
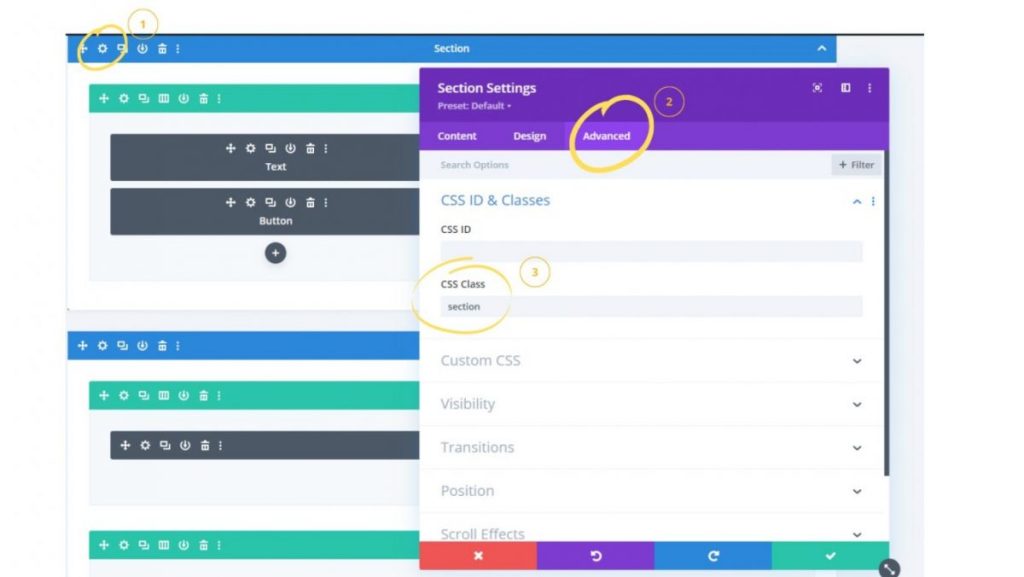
3. Add Divi Sections and assign „section“ as CSS Class. To do that, click on the module settings icon > Advanced and add „section“ in CSS Class field.
4. Publish the page and view the page to see each section taking up a full-page and scroll the mouse wheel to jump to the next section. Here’s how mine looks.

I hope the instructions were clear enough. It is a bit complicated to set up at first, but after some practice it’s doable.
Inhaltsverzeichnis
0 Kommentare