For people who need to be quick, I first offer a generic child theme for download. In the following tutorial, we will go into detail on how exactly this was created.
What is a Divi Child Theme?
A child theme on WordPress is one of the many ways in which we can make adjustments to the PHP and CSS code of the Divi theme without these being lost during an update. Apart from that, it also helps us to save our changes to the code of the Divi theme in one central location.
This makes it much easier for us to know at which point our customizations trigger an error than if we were to make customizations directly in the theme itself. If you plan to make many or very specific PHP changes to your Divi theme, it makes sense to set up a child theme so that they are not lost in the event of an update. Let’s start now! Let’s create your very first Divi Child Theme.
What should be in your Divi Child Theme folder?
It should look like this: Your Divi Child Theme folder should have these three basic files.
- A style.css file in which you can save all of your CSS for your Divi Child Theme
- A functions.php file that uses wp_enqueue_scripts to integrate your style.css file
- A screenshot.png that is displayed as a preview image of the theme in the WordPress backend.
The Divi Child Theme folder
You have two options for adding your child theme files to WordPress
First option: create your child theme folder with FTP:
- Use FTP to navigate to the wp-content -> themes folder. You will also find your Divi theme there with the name „Divi“.
- Create a new folder in the themes folder and name it “divi-child”.
- In the newly created „divi-child“ folder, you now create the three files specified above, the style.css, the functions.php and the preview image.
Second option: Create a folder on your desktop, also with the name “divi-child” and the three files described above, and upload it as a zip file to WordPress as a new theme.
How to create the style.css file
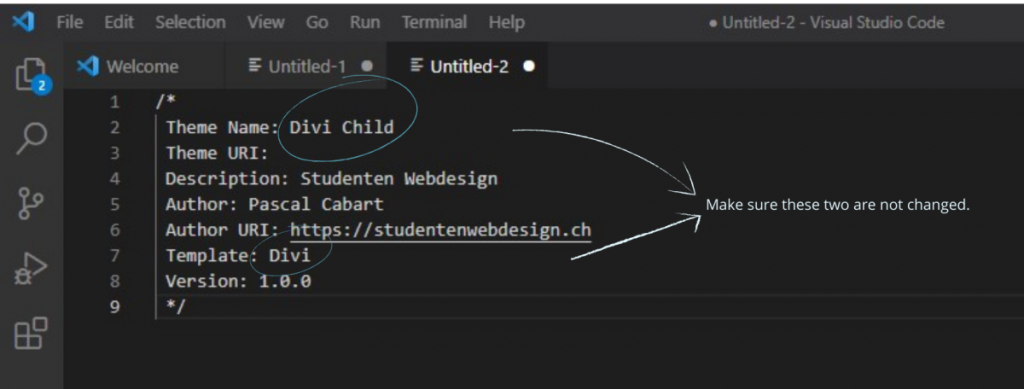
Use a text editor to create a file called “style.css“ in your child theme folder. I recommend Visual Studio Code as a text editor. Copy and paste the following lines into your editor.
 /*
Theme Name: Divi Child
Theme URI:
Description: Studenten Webdesign
Author: Pascal Cabart
Author URI: https://studentenwebdesign.de
Template: Divi
Version: 1.0.0
*/
It should look like this:
How to create the functions.php file
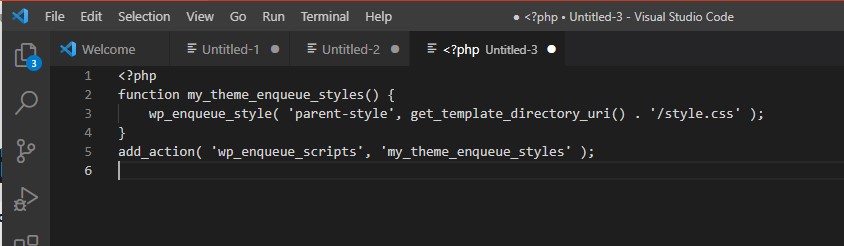
Now we have to put our Divi Child Theme in the loading chain of our Divi Theme. This is to ensure that whatever we put in our Divi Child Theme loads after the parent Divi Theme. To do this, copy the following code into your editor and save it as functions.php.
<?php
function my_theme_enqueue_styles() {
wp_enqueue_style( 'parent-style', get_template_directory_uri() . '/style.css' );
}
add_action( 'wp_enqueue_scripts', 'my_theme_enqueue_styles' );
It should look like this:
How to create the preview image of your child theme
As we all know, looks are important, so let’s go the extra mile to give our Divi Child Theme a unique look.
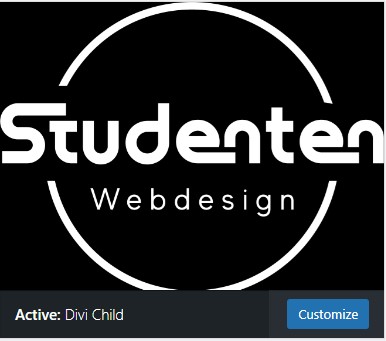
Generate an image with a recommended size of 1200px width and 900px height, then save it as screenshot.png, and then add it to the child theme along with the first two files. You have the freedom to choose which image to choose for your child theme. For example, the theme below shows my logo as a preview image.
Activate your Divi Child Theme
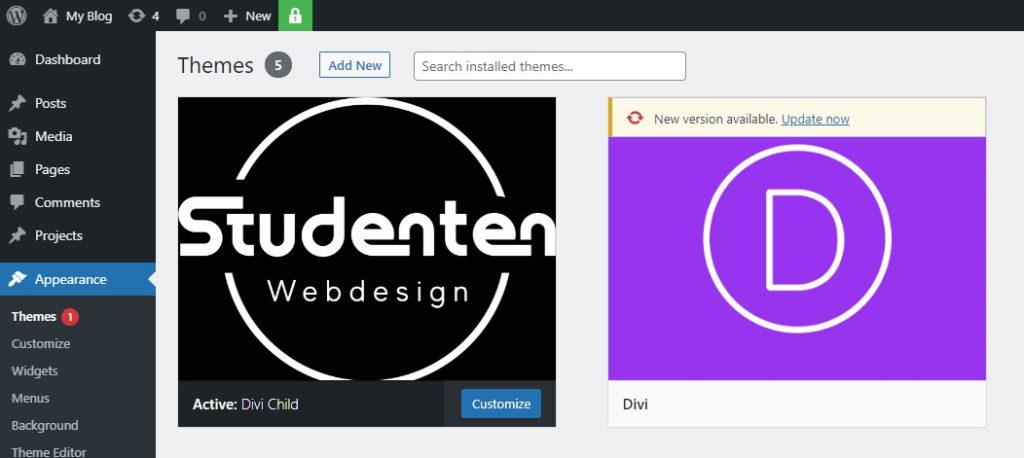
If you used the first option to create your child theme, all you have to do is go to Appearance in the WordPress backend and then click Activate. On the screenshot below, my child theme is already activated.
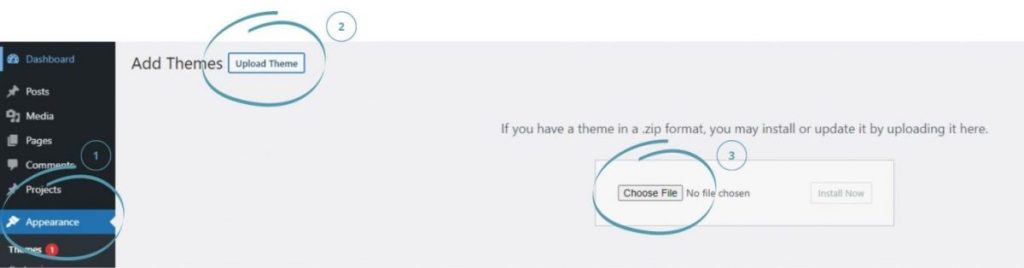
If you’ve used the second option to create your child theme, there are additional steps you need to take. First go to Appearance, click Add new, select Upload Theme, click Choose File and then select the zip file from your locally saved Divi Child Theme. Finally, click Install Now. When the file has finished installing, look for the Activate button, then you are done.
Quick note
Make sure the names of your folder and the names of your files are exactly the same as the ones we gave. You must pay close attention to upper and lower case letters. It is possible that your child theme cannot be activated if you use wrong capitalization.
Inhaltsverzeichnis
0 Kommentare